Installation of PhysImage
To install PhysImage, unzip your
copy of the 'PhysImage.zip' distribution into a directory. If you are
on Windows, double-click the "install.bat" file and if you are on OS X
double-click the "install.command" file. For Windows, you may have to
install the Java Software Development Kit (Java SDK) for the
"install.bat" file to run properly. If you are not sure if this is
installed, you can open a "Command Prompt", then type "java". If you see something like "command not found" install the Java SDK as follows:
- Go to Oracle's Java SDK 8 download website (detailed installation instructions for the JDK can be found here).
- Accept Oracle's license agreement
- Select to download the appropriate installer for your version of Windows
- Then log in using a free Oracle account
- Finally, run the installer after it has completed downloading and follow the provided instructions
- Confirm that the JDK has been installed correctly using the Command
Prompt (on Windows) or a terminal (on OS X or Linux) by typing 'java'
as suggested in the first paragraph above. If the command is not
recognized on Windows, you may have to set the 'environment variable'
to point to the directory 'java.exe' as described here.
- After the 'java' command is successfully recognized, you should
see a bunch of text when you run the "install.bat" file and can
continue following the instructions below
After running either "install.bat" on Windows or "install.command" on OS X, a small dialog box will
appear requesting you to select one of the two installation options as
depicted below. Depending on your selection, you will pick one of two
directories for the installation (see the details below the figure).
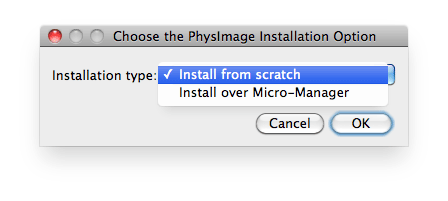
Option #1: Install from scratch
-
This option will create a new directory called "PhysImage" in the
parent (base) directory selected in the open dialog that follows the
above one.
Option #2: Install over Micro-Manager
- This option will add new files to a previous installation of Micro-Manager and overwrite old files as necessary. In this case, select the "Micro-Manager" directory's location in the filesystem in the following open dialog.
Note: It is
highly recommended you back up your previously working copy of
Micro-Manager in the unlikely case of problems with the installation.
Testing the installation
If
you installed from scratch, double-click the 'PhysImage.exe' file on
Windows, or 'PhysImage64.app' (PhysImage.app for 32-bit) on OS X. For a
Micro-Manager installation, the startup executable should be the same
as normal.
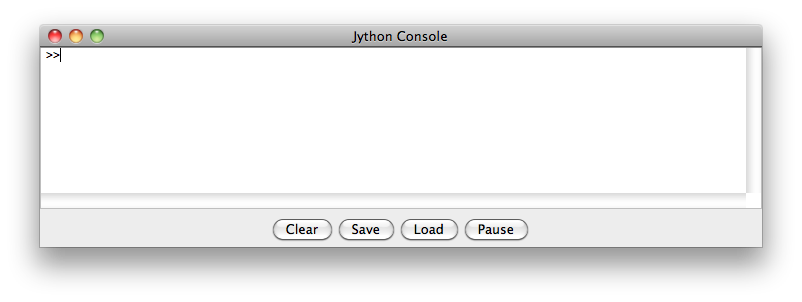
Once loaded, the program should appear normally along with a 'Jython Console' window similar to the one depicted below:
Finally, if you would like to start looking at some of the useful extensions PhysImage provides beyond baseline ImageJ, take a look at the tutorials starting with Tutorial #1. If you are not familiar with the Python programming language, we suggest you start at the Basic Python Tutorials.
>> Tutorial #1. Python scripting control of ImageJ/PhysImage